
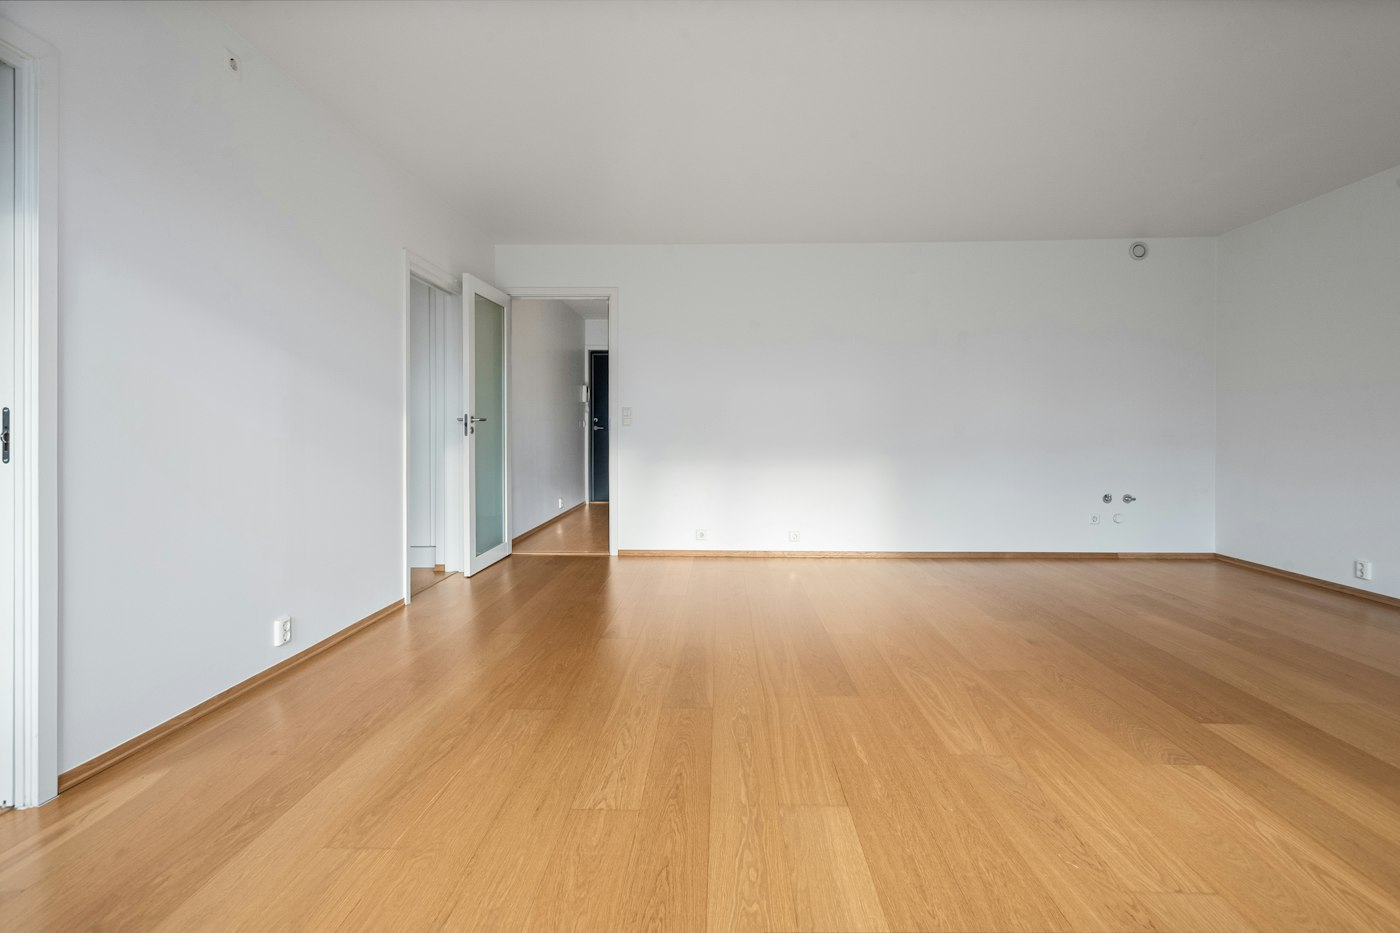
The final walk-through is your last chance to see the home before it becomes yours. It usually happens within a day or two of closing, and its purpose is straightforward: confirm agreed repairs, confirm systems are working, confirm the property’s condition is unchanged, and confirm personal property has been removed. It is not a second inspection, but it is an important safeguard. Sherry attends every walk-through with buyers, because a careful look at this stage can prevent surprises after you get the keys. Here is what to expect and what to check.
Why the Final Walk-Through Matters
Weeks often pass between your inspection and closing. During that time, the seller is still living in or managing the home, moving out, completing repairs and handling the property. Weather can also have an effect, especially in the mountains, where storms, freezes and falling trees can cause damage. The walk-through gives you the chance to make sure the home you are buying is in the condition you agreed to.
If something is wrong, it is much easier to address before closing than after. Issues can often be resolved through repairs, credits or other agreements between the buyer and seller.
Confirm Agreed Repairs
If you negotiated repairs after the inspection, check that they were completed as agreed.
- Bring a copy of the repair agreement or amendment.
- Ask for receipts, invoices and any warranties for completed work.
- Look at each repaired item to make sure it was done properly.
- If a licensed professional was required, confirm that they did the work.
If repairs were not completed or were not done as agreed, talk with your agent right away about options.
Confirm Systems Are Working
Test the home’s major systems and appliances to make sure they are working.
A system-by-system checklist
- Heating and cooling. Turn on the heat and air conditioning and make sure each responds.
- Plumbing. Run faucets and showers, flush toilets, and look under sinks for leaks.
- Water heater. Check that hot water is available.
- Well. If the home has a well, make sure water pressure is normal.
- Septic. Watch for slow drains or odors.
- Electrical. Test light switches, outlets and ceiling fans.
- Appliances. Check the range, oven, refrigerator, dishwasher, washer and dryer if they convey.
- Fireplace or stove. Make sure the damper opens and closes, and gas fireplaces ignite if applicable.
- Garage doors and gates. Test openers and remotes.
- Smoke and carbon monoxide detectors. Make sure they are present and working.
- Generator. If one conveys, confirm that it runs and ask how to operate it.
Confirm the Property’s Condition Is Unchanged
Look for any changes or damage since your last visit.
- Check walls, floors and doors for damage from moving.
- Look for water stains, leaks or signs of moisture.
- Walk the exterior and check the roof, gutters, decks and siding.
- Look for downed trees or limbs, storm damage or erosion.
- Check the driveway and road for washouts or new problems.
- Make sure outbuildings are in the condition expected.
In mountain homes, pay extra attention to anything weather-related, especially if there has been a storm or freeze since your last visit.
Confirm Personal Property Has Been Removed
Unless the contract says otherwise, the seller should remove personal belongings, furniture, trash and debris before closing. Check:
- Closets, cabinets and drawers.
- Basements, crawl spaces, attics and garages.
- Outbuildings, sheds and barns.
- The yard and woods around the home, where old equipment or debris may be left.
Also confirm that any items that were supposed to stay, such as appliances, fixtures, furniture or equipment listed in the contract, are still there. This is especially important for furnished cabins or rental properties.
Getting the timing right
Most buyers schedule the walk-through for the day of closing or the day before, after the seller has moved out. That timing lets you see the home empty, when damage from moving or items left behind are easiest to spot. If the seller has a rent-back agreement and will stay after closing, talk with your agent about how and when to check the property before the seller leaves. For seasonal or out-of-town buyers, plan travel so you can attend in person if at all possible. If you truly cannot be there, discuss alternatives with your agent ahead of time, such as a video walk-through, so nothing is overlooked.
Collecting the practical details
The walk-through is also a good time to gather the information you will need on day one: where the main water shutoff and electrical panel are, how the well pressure tank and any water treatment system work, where the septic tank is located, who delivers propane, and who handles trash pickup and internet service. In a mountain home, knowing these details before your first night can save you a lot of trouble.
What to Bring
- A copy of your contract and any repair agreements.
- Your inspection report for reference.
- A phone charger to test outlets and a phone camera to document issues.
- A flashlight for crawl spaces and dark areas.
- Questions about keys, codes, remotes, manuals and service providers.
If You Find a Problem
Stay calm. Most issues can be resolved. Take photos, note the issue and talk with your agent. Depending on the situation, options may include having the seller complete a repair before closing, negotiating a credit, holding funds in escrow for a repair, or delaying closing. Your agent and closing attorney can help you understand the options and put any agreement in writing.
Next steps
- Schedule your walk-through as close to closing as practical.
- Gather your contract, repair agreements and inspection report.
- Use the checklist above to review repairs, systems, condition and personal property.
- Bring questions about keys, utilities and service providers.
- Walk through with Sherry, who attends every walk-through with buyers.
A careful final walk-through helps you close with confidence and start life in your new home on the right foot.


