
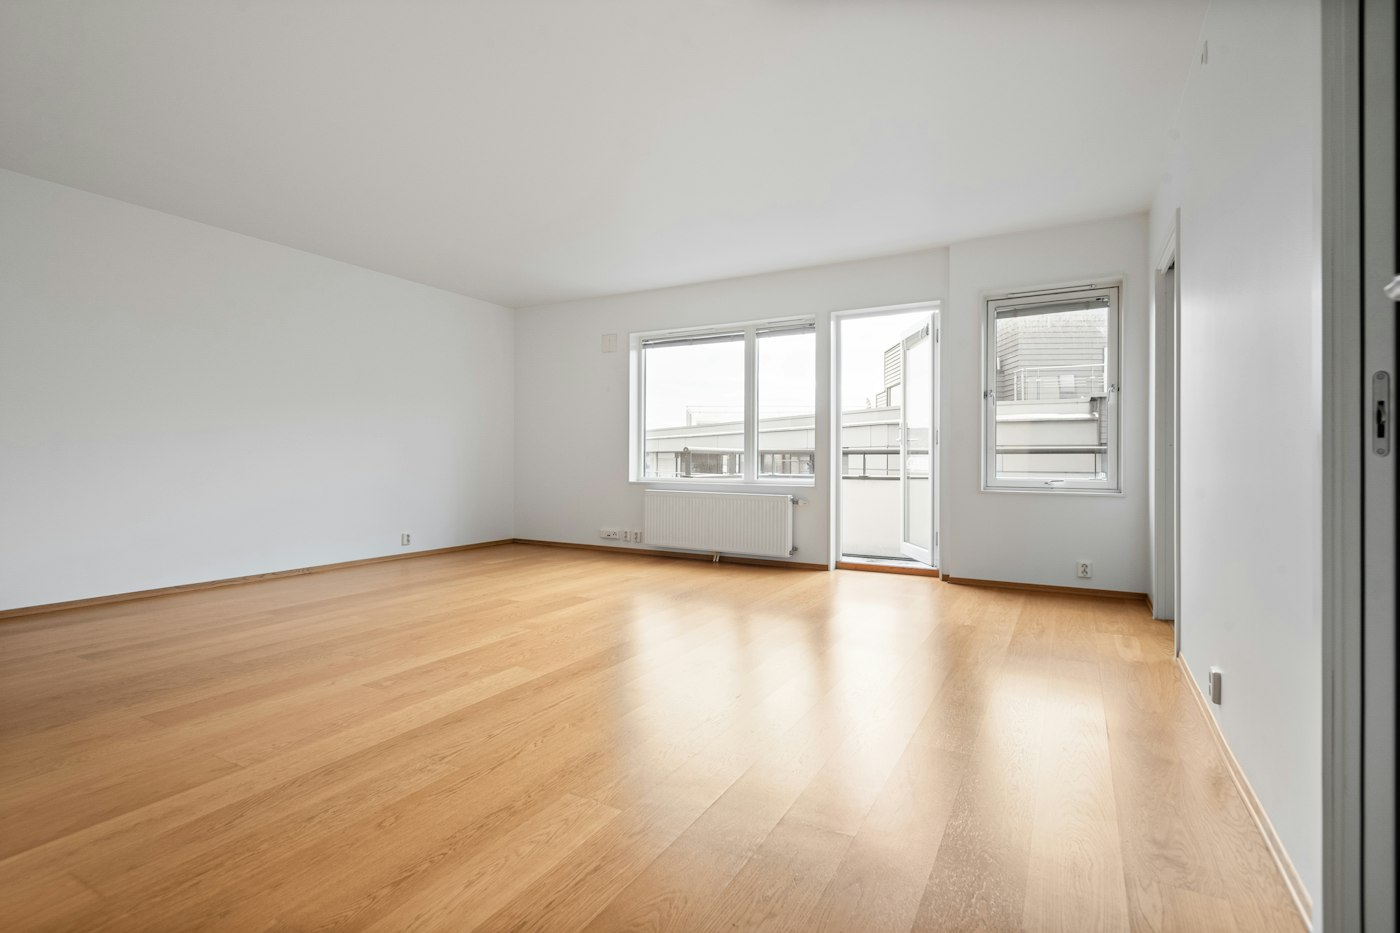
Shortly before closing, buyers usually have a chance to visit the home one last time. This final walk-through is not a second inspection. It is a chance to confirm that the home is in the condition you agreed to buy and that nothing has changed since your offer was accepted.
Why the walk-through matters
Weeks can pass between your inspection and closing day. In that time, the seller moves out, furniture is carried through doorways and the home may sit empty. Things can get damaged, systems can stop working, and agreed repairs may or may not be finished. Once you close, solving these issues becomes much harder, so the walk-through is your opportunity to raise concerns while there is still time to address them.
When to schedule it
Walk-throughs are commonly scheduled within a day or two of closing, ideally after the seller has moved out. Your contract may specify the timing. Allow enough time to look carefully, usually at least half an hour, longer for a larger home.
Your walk-through checklist
- Bring your contract, the inspection report and any repair agreement.
- Confirm that agreed repairs were completed and ask for receipts or documentation.
- Turn every light on and off, and test outlets with a phone charger.
- Run the heating and air conditioning.
- Run water in every sink, tub and shower, and flush every toilet. Look for leaks underneath.
- Test appliances that are staying with the home.
- Open and close windows, doors and the garage door.
- Check walls, floors and ceilings for new damage from moving.
- Look for water stains or signs of leaks that were not there before.
- Make sure items included in the sale are still there, and excluded items and debris are gone.
- Check that you have keys, remotes, codes and any manuals.
If something is not right
Stay calm and document the issue with photos. Talk with your agent right away about options. Depending on the problem and your contract, solutions might include the seller fixing it before closing, a credit at closing, money held back in escrow until a repair is complete, or, in rare cases, delaying closing. Small issues are often resolved quickly.
A few final tips
Keep the focus on what was agreed. The walk-through is not usually the time to raise new requests about the home’s general condition that were known at inspection. Instead, confirm that the home matches the contract and that nothing new has gone wrong.
If the home is vacant, it is also a good moment to note meter readings and take photos for your records. For questions about your contract, a real estate attorney can help. If you are preparing to buy, reach us through our contact page.
Going Deeper: A Room-by-Room Walk-Through Route
A set route keeps you from missing anything. It also keeps the walk-through calm and organized, even if you are excited to get the keys. Here is one way to move through the home.
Start outside
- Walk the perimeter and look for new damage to siding, trim, or the roofline.
- Check that the yard is clear of debris and that any items left behind were agreed to.
- Look at gutters and downspouts, especially if there has been recent rain.
- Test exterior lights and any outdoor faucets.
- Open and close the garage door, and test the auto-reverse safety feature if the door has one.
Move to the kitchen
- Run the dishwasher briefly and check for leaks underneath the sink.
- Turn on each burner and the oven.
- Confirm the refrigerator is cooling if it stays with the home.
- Run the garbage disposal and the range hood fan.
Bathrooms and laundry
- Run hot water in each sink and shower to confirm the water heater is working.
- Flush toilets and watch for running water afterward.
- Check exhaust fans.
- If the washer and dryer stay, run a short cycle or at least confirm they power on.
Bedrooms and living areas
- Open closets, which are easy to overlook and can hide left-behind items or damage.
- Look at floors where heavy furniture was moved.
- Test ceiling fans and window locks.
Mechanical areas
- Locate the electrical panel, water shutoff, and HVAC unit.
- Look under the water heater for signs of leaks.
- If accessible, glance into the crawl space or basement for standing water.
Common Walk-Through Mistakes
- Treating it as a formality. A quick wave through the front door can miss problems you will discover the day you move in. Give it real time.
- Scheduling too early. If the seller is still packing, you may not see the home in its final condition. Ask whether the walk-through can happen after the move-out.
- Forgetting to verify repairs. Bring the repair agreement and look at each item. Ask for invoices or receipts from the contractors who did the work.
- Not bringing the right tools. A phone charger for testing outlets, a flashlight, and your inspection report make the visit far more useful.
- Waiting to speak up. If you find a concern, raise it with us right away. The time before closing is limited, and quick communication gives everyone the best chance to resolve it.
Questions Readers Ask
Is the final walk-through required?
It is typically a right given to the buyer in the contract rather than a requirement, but it is strongly recommended. Skipping it means giving up a chance to catch problems before closing.
What if the seller has not moved out yet?
Sometimes a seller needs a few extra days in the home, which should be addressed in the contract or a written agreement. If they are still there at the walk-through, focus on what you can check and talk with us about how to handle the rest.
Can I bring my inspector back?
Some buyers do, especially if major repairs were completed. Ask your inspector whether they offer a re-inspection and what it would cover.
Should I worry about small scuffs or nail holes?
Some minor wear from moving is normal. The focus should be on whether the home is in the condition the contract describes and whether anything has been damaged or stopped working.
After the Walk-Through
Once you are satisfied, the next stop is the closing table. Keep your photos and notes from the walk-through with your closing documents. If something unexpected appears after you move in, those notes help show the condition of the home on the day you accepted it.


